

Hey there! Yes the title of this blog might have you thinking, "isn't there a YouTube tutorial on this already?" Well, there is, but this is a method I use and I'm happy to put out here as a second option to help improve your efficiency.
So, let's get right into it. After building out your project and you're ready to deploy to Firebase, export your live UI from the dashboard by creating a new deployment and downloading the current version.
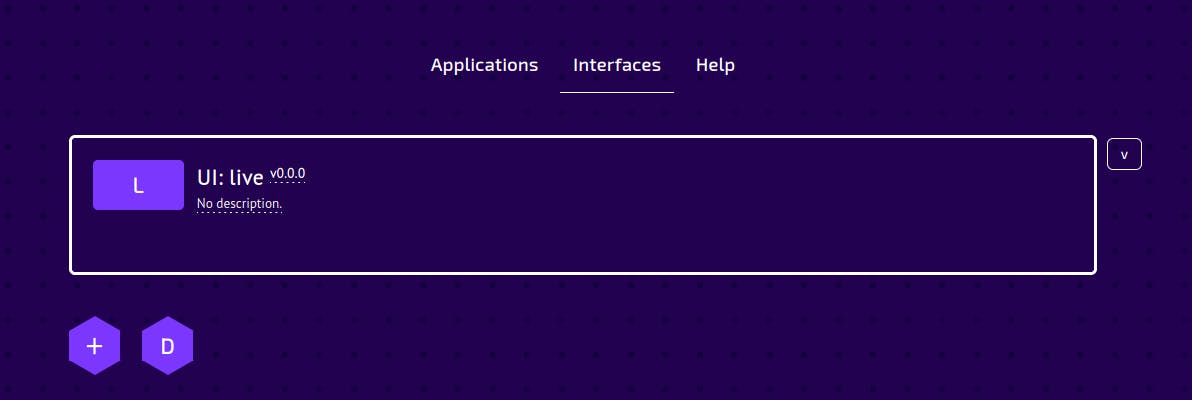
In case this is your first time deploying, what you have to click here is the v0.0.0 and it'll take you to the next page which has this "Create a new deployment" button.

When you're there, click it and enter the name you want for your deployment and select the deployment type from the list of available deployment types that come with the version of the starter-kit you have. Mine has this VueJS (vuejs-local-standalone) among the options so I'm going with that. Keep in mind that you must select the standalone deployment type if you're deploying to production, it's available for both React and Vue.

Once you've done that, click Insert. You'll be taken back to this page, where you can click on the created deployment.

And then you can click on Current version to download the deployment you've just created.

After downloading the deployment, extract it, then copy over the "functions" & "public" folders from your local project into your just extracted "live_prod" folder.
Now it's time to do the traditional npm install and npm run deploy. But make sure your api is still running, because we'll need it. When deploying a static website, you'll need to have your api running so that the information from it will be collected into a static-cache and used for the UI deployment.
So, after running npm run deploy, the env variables will be empty, so for the "DEF_UI_URL", you'll make use of your domain name (maybe a free one made available to you by Firebase). Then where you have "DEF_SERVICES_URL_FOR_APIS_REMOTE_DB", you'll use the same value as used in your local project env.local.json file. The value would probably be something like this: http://127.0.0.1:49980/openapi.json. Follow through with the prompt and your "dist" folder will be created if your deployment was successful.
Here is where this pro tip comes into play. Navigate to the 0.0.0 folder (dist/interfaces/prjui/0.0.0) inside the just created "dist" folder and copy everything inside it.
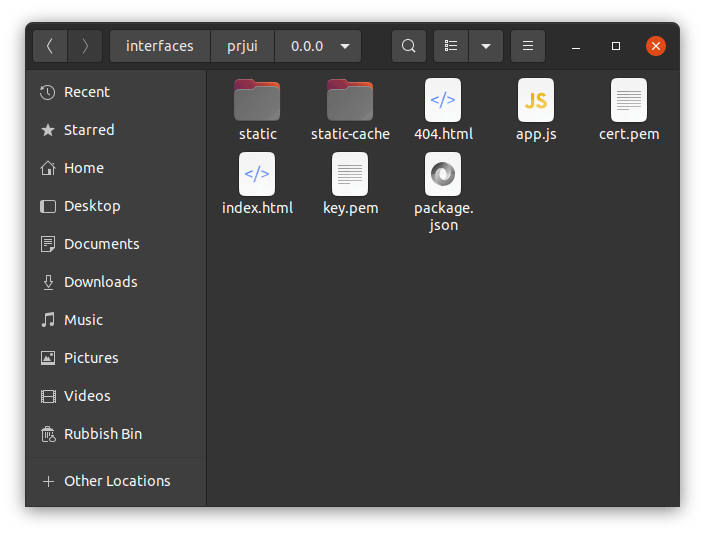
Now, somewhere else in your PC, create a folder and name it "firebase", like this:

Then inside that "firebase" folder, create another folder called "public", and paste in what you copied from the 0.0.0 folder.

Now it's time to open the "firebase" folder in the terminal. Once that is done, install firebase tools globally on your PC by running npm install -g firebase-tools. When the installation is complete, run sudo firebase init and follow through with the prompt in order to select what firebase project you want to utilize hosting on.
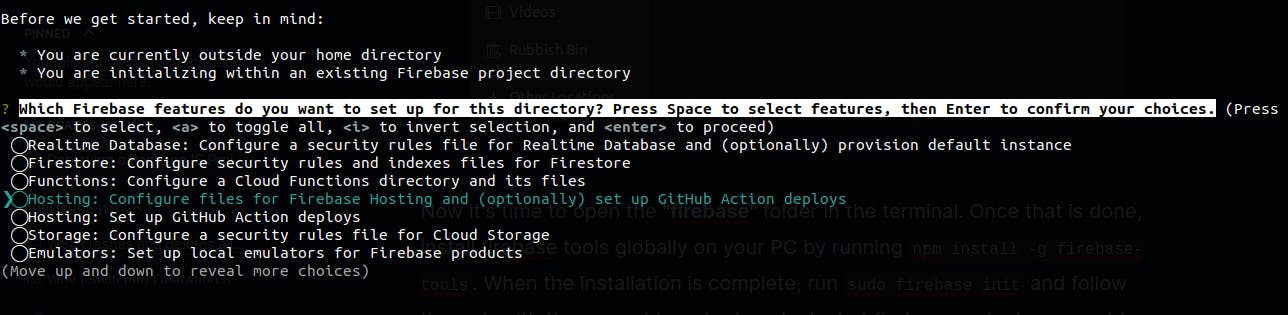
Here, you're to select the option "Hosting: Configure files for Firebase Hosting and (optionally) set up GitHub Action deploys" using the spacebar and then hit to proceed.
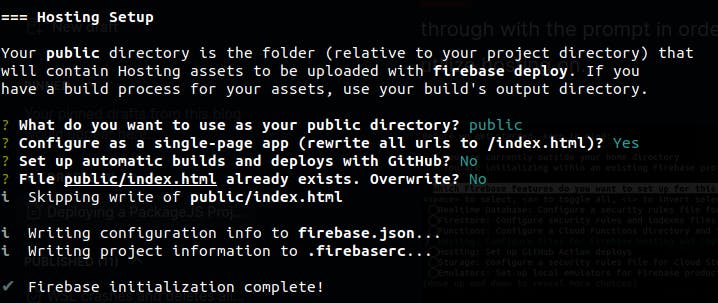
The next step would be to set the options for these questions the prompt will throw at you, follow what is in the screen shot above and you'll complete the initialization process.
Now to deploy, you only need to enter the command sudo firebase deploy and your project will be deployed!
There you have it, personally, this is the method I use to deploy PackageJS project UIs, I hope you find this helpful and I'll catch you in the next one!